Fake Tattoo Using Makeup

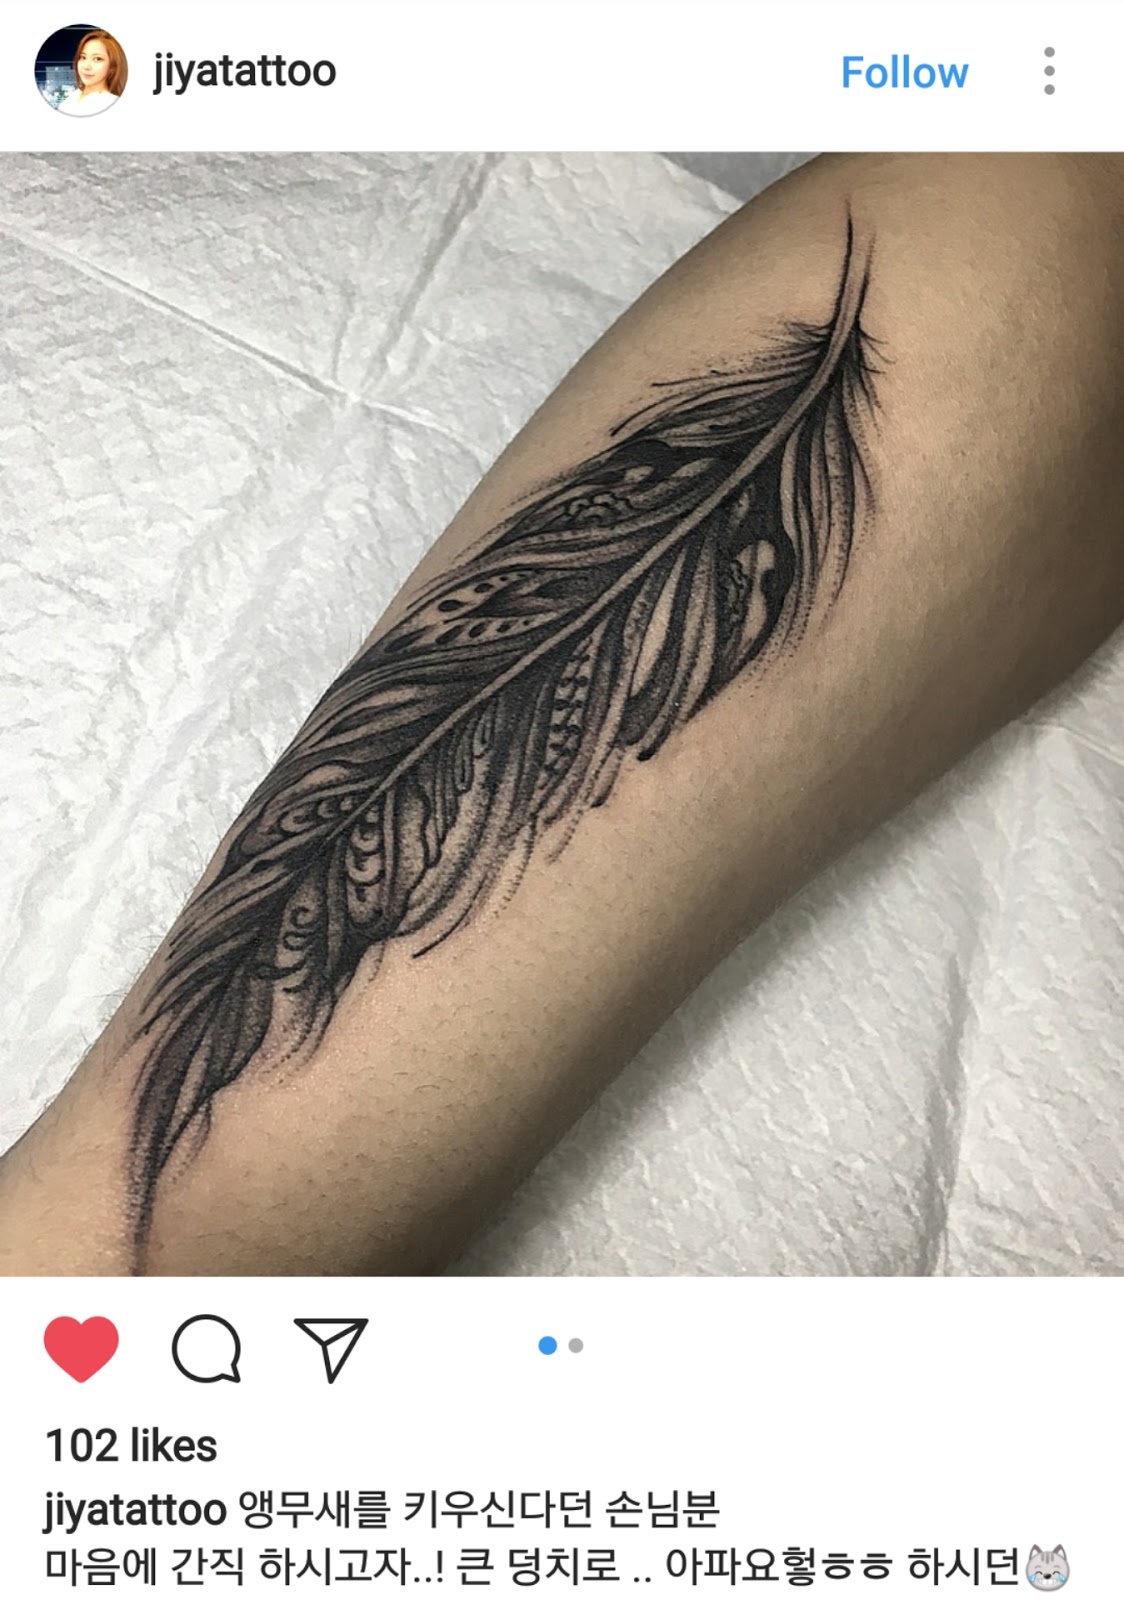
This is the image I took my inspo from:
I started off with a Rimmel felt tip liner pen for the stalk of the feather. It wasn't too black and because it was a soft felt tip, it moved well. However, because it was soft, if I put too much pressure on it the line would get thicker.


So I switched to a black gel liner. I had my Inglot one to hand but I used the Maybelline one instead. I did this because I wasn't sure how well it would turn out in the end, and it would also be easier to correct while working.


However, if you were doing this for say a festival or an occasion, I would maybe advise the Inglot gel as it is waterproof and smudge proof. After being so pleased with my result, I wished I used that one to see if I could get a better wear time out of it! So next time I will do that.

I used the finest liner brush I have, which is the LY24a from Louise Young.


I also used a small detail brush to add shading with a slight touch of black shadow, as I was working. I used the Crown SS033 Mini Smudger brush, and Shax from the Kat Von D Shade & Light eye palette.


Once I finished the piece I felt that it there was slightly too much darkness. So I took a clean liner brush and a cream coloured eyeshadow and went over some of the blank spaces to brighten them and add highlights.


I then set it in place. I used the Make Up For Ever HD loose powder with a puff to pack it on. I spritzed it with the oil controlling setting spray from Scandinavia. I then packed on the powder once more.
So I first took pictures before I set it..

...And also after I set it

As you can see it definitely has less definition and darkness. While it does look less clean and loses the subtle highlights added in, I think this makes it look more real and worn.
Other pictures from my Snapchat and Instagram story
(@christineocmua)


So I did this late in the evening. The next morning I took the below picture.

A lot definitely got warn away, however no smudging or smearing. I also noted how much better the Rimmel liner lasted than the gel.
Later that evening I took another quick one to bring it to the rough 24hr mark, as I had intentionally spent the day not trying to mind it. I was wearing a top with long sleeves, but loose ones. I wasn't trying to smudge it or anything but I just went about my day.

Not the greatest picture but definitely shows much more deterioration.
Again, I noted how much better the Rimmel pen liner lasted.
So, I for sure will try this again with a different design! I will try the Inglot gel next time. I will also try to use the Rimmel liner alongside it for wear comparison.
This was a fun experiment - artistry wise, and also seeing eyeliner wear-time.
So I hope you found that interesting! If you made it to the end of this post, I'm guessing you did!
Thanks so much for stopping by, let me know what you think, and I'll see you again soon!
Christine
x


Comments
Post a Comment